Showing posts with label Simple Solutions. Show all posts

Thursday, April 2, 2015

Picture Chore Charts for Toddlers

Hey everyone. 
It has been about 2yrs since my last blog update. Where have I been???? Well I have moved and had another baby. So Now I am a family of 6. As my kids are growing older my life has changed a little bit and my ideas are based on a little bit different age of kids now so hopefully I will keep the blog updated with my new ideas and tidbits. 

My first blog in two years is, of course and chore chart. I am sooo OCD!! And Need to have everything cleaned and I want my kids to able to clean and be able to do things on their own. I am very proud of this chart and worked, maybe, a little too hard on the cuteness factor. I created a new chore chart with picture so my children could learn to do chores on their own. This chart is perfect because it has the word of the chore for my daughter and son that can read but the pictures are perfect for my younger daughter that cannot read yet. 
Here is the chart for a little boy
Here is a chart for a little girl
 

 I printed these out into 4x6 pictures and put them in some $1 pictures frames. This way you can have the kids used a dry erase mark to X the squares and wash them off easily for the next day.

Because I am unable to attach the spreadsheet for my chore chart, I suggest you find the SNIPPING TOOL app. This will allow you to just view my page and cut the chore chart out and save it to your computer.

I hope you like this chart and have found it useful!! Thanks for stopping by.

Monday, March 11, 2013

Primary Theme 2013: Royalty


Primary 2013 Primary room Décor


“We are Royalty”


I’m BACK!! I’ve been out of primary for a while, but I’m back now with some changes. I am now part of a great Texas Branch! I also joined Primary again, but this time as Primary President!


I was totally stunned at first, but I’m just super excited to be with our Heavenly Fathers children again. I had my first Sunday solo today and loved being there. Don’t remember why I was so worried before.


I will still be doing Singing time, But I’ll also be doing Sharing time, Activity day(Faith in God Days, might be a better name for it since we have both boys and girls in the class), AND Sunbeam/Nursery teacher. So I’ll separate my blog updates in these different areas so that anyone looking for just one of these topics can find them easier.


So my first job as Primary President was to decorating the primary room with this year’s theme. We have only one real wall in our Primary room, the rest are sliding doors. But we are going to make the most of that one wall we can.


I know everyone has taken the I am a Child of God theme their own way, but with most my primary being girls, I decided to add a little more twist to the theme, but Staying reverent at the same time.
I explained to the Children that they were Children of God, but also Royalty. Royalty? We talked about what it would be like to be a Prince or Princess. How would we act (Royalty act very well behaved) How would we treat other royalty (Prince and Princesses are taught to treat other Royalty very respectfully) And most important question, What makes someone a Prince and Princess(A girl perfectly said “you have to have Royal parents”) Bingo! Do we have Heavenly Royal Parents? What does that make us?? Their eyes lit up!


So I gave each child This paper Crown I found online and typed Prince/Princess on them. They decorated them and were going to put their pictures on them.

I went to the Best store in the world HOBBY LOBBY! :) and bought a mirror and put a sticker crown on it, Found a castle sticker and spray painted it silver (It was pink, which my husband informed me, was not boy friendly), Also found the prince sword and shield. I’m heading to the Primary room later this week to Decorate it all, so Sunday the kids can remember they are Children of God, which makes them Royalty.

I kept it reverent with pictures of Christ and only subtle décor. Reverence and respect to our Heavenly Father is most important!


It was amazing how easy it was to use the Princess/Prince concept to get them to be good in primary. Do princesses sit like that? Are Princes mean to other Princes? It was amazing to see how quickly the listened when I said “Lets sing the way our Heavenly Father excepts his Princes and Princesses to sing”
 
 
(This is the unfinished look. I still haven't put the kids pictures on the crowns since i wanted to take the picture first. Also, not all the crowns are up. I printed out the PTTW quote and posted it above the chaulk board)
 

I also can’t wait to use this concept for primary activities later this year.

A Royal Ball? “Tea” Parties? So many possiblities and chances to remind the kids how important they are!  

Monday, June 4, 2012

Make a NEW Skirt from Jeans and an old skirt

I have been going through my clothes and came across a favorite skirt that was too small around the waist, and pants that fit really strange. You know what I'm talking about, those pants that when you bend over and your back side shows. SO I decided this could be fixed by combining the two together.


Get your pants and cut off the legs, as if you were turning them into really short shorts. Then cut up the inseam and even out your cut, now it should look like a mini skirt. Then get your skirt and cut from the top down until its top and the jean bottom is roughly the same width. Then, with your jeans right side out, slide your inside out skirt over the top of the jeans. Make sure both RIGHT sides of the fabric are against each other, then sew. You will be sewing together the bottom of the jeans to the top of the skirt.  Then ta-da, you are finished. If you would like you can sew a top seam along the jeans if you would like, I did and it seemed to take away some of the flair. But here you go, you now have a new skirt.

Wednesday, May 30, 2012

Perfect Gift For Someone Turning 21

My sister recently turned 21. We do not drink, but still wanted to embrace her new milestone in life. So we decided to do something fun and crazy.


Here is the card


Here is Red Vines, with the Liquor-ish paper taped to it.


And then get you some IBC Root-BEER  and your done.

 I forgot to get a picture of it all together so I stole this from my sisters Facebook page.
You may notice this is cream soda and not root beer, well there are only so many gas station options at 12am when we were purchasing and delivering these.
Not that great of a picture but it all comes together pretty well.

Friday, May 25, 2012

How To Make a Infant/Toddler Dress Form.

I have been making infant and toddler dresses and have been really wanting a Dress Form to take pictures, but they cost an arm and a leg. Because I do not have any extra limbs to spare, I decided to make my own. As I was walking down the garden section at Wal Mart, I stopped at the Folding Garden Fence, and I discovered how I was going to make my dress form. 


You will need:
8' H x 10' W Folding Garden Fence for $4 
Wire or Zip ties
Wire Hanger
Wire Cutters.


Using your wire cutter remove 3 sections


Using your wire cutters Clip off the wire that is sticking out.
You may want to file the edge if you will be working with very sensitive fabric.


 Place two of the fence pieces flat on each other.


 Starting at the bottom(in the picture) start wrapping your wire around...


  until you get 3/4s of the way to the top(in picture)


It will look something like this.
Continue this step until all three sides are connected.


Now you are going to get your wire and start wrapping the tops together.(Sorry this is my finished Dress Form so yours will not have the large hanger wire in it) There is no real rhyme or reason to how I wired the top but just make sure it is nice a secured and it all comes together. 


Next Grab your hanger and fish it down through the top of the form. 


Now just wrap the hook or the hanger around the fence portion. Make sure its tight and doesn't move around.


Turn the feet up.


And then it should look like this


And now it is ready to rock any infant or toddler dress.

Monday, May 14, 2012

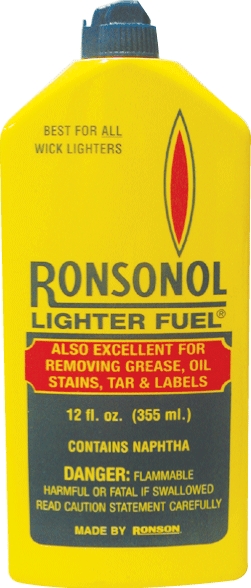
5 Ways To Use Lighter Fluid

 As a mommy there are some cleaning product that you have to have around the house at all times. Lighter fluid is one of the. It can remove so much. I first learned of lighter fluids awesomeness when I worked at an optical shop.  We would use lighter fluid to remove so many things off of peoples glasses. I have recently began using lighter fluid for all sorts of reasons so I thought I would share some of the household cleaning that lighter fluid can help with.
  1. Removes paint from glasses or windows
  2. Removes Hairs spray for glasses or bathroom window
  3. Removes Stickers from smooth surfaces
  4. Removes Band-Aid Residue from skin. Be sure to wash skin thoroughly with soapy water after. 
  5. Starts fire.
These are just a few uses, comment if you know other uses for lighter fluid.

Monday, May 7, 2012

Tips To Help Make A Enjoyable Trip with Toddlers

 I recently took a 14 hour trip with my three children ages 3, 2, 7mths. I began looking around the internet to figure out what I could do to entertain m kids and could really find anything for my age of kids, so I figured I would let you know what I did that helped us out on our trip.
  

  1. Stops. Make sure you make stops that allow them to run around and get out some energy, maybe have them do this right before there normal nap time.
  2. Snacks - a variety is sometimes very exciting for the kids. I had Cheese, Cheetos, Fruit Snacks. WARNING-Sugar may not be the kind of snack you want to give your kids.
  3. DVD Player - Pick movie you know they will watch or haven't seen in a while. If you are going to buy new movies, save them for your trip. This will help a lot!!
  4. Dollar store toys-Give them a gift,which is a toy from the dollar store, when ever they begin getting rowdy.
  5. Naps -Make sure if you are driving through your kids normal nap time make sure they nap, turn off the DVD player and give them a blanket
  6. Bring a blanket.
  7. Favorite Stuffed animal/Doll. May help keep them calm
  8. Music. I got Disney music. My daughter and son loved singing along. 
If there is anything you do to make traveling with toddlers easier, please comment below.

Monday, April 30, 2012

Tips To Make Your Long Drive Enjoyable!!


My husband and I recently returned from a much needed, week long vacation to San Antonio, which is a 14 hour drive from where we live. This made me wonder, "what will we do to stay wake." So I started brainstorming and looking at other blogs and this is what I came up with

  1. Stress Free List. Before the trip, make a list of ALL the stressful things that your spouse and you should try to avoid talking about on the trip. This will help you both to avoid touchy subjects that may stress out one another. After all a vacation is supposed to be a stress free thing.
  2. Read a book. My husband and I dont read books, BUT we did decided to try this out. It was super fun. We found movie that was originally a book, 'I am number four'. This way we could watch the movie later and be a critic. ;)
  3. Questions. Find questionnaires to ask each other-Or you could make them up. I went through some many sites and just took their questions. Of course some of them are the same but, hey, it was kinda fun to quiz your spouse and see if they remembered the answer.
  4. Find all 50 states license plates game. I found this game from Dating Divas Blog. This was super fun I printed one out for the trip there and one for the way back. My husband got really into this.
  5. Get FUN music. I went through my music and my husband went through his and we chose songs we would like to listen to. This way we would both be able to listen to what we wanted. I was able to listen to my late 80's and 90's music. It was super fun to be a kid again.
  6. Comfy Clothes. Make sure you travel in comfy but nice clothes. This way you will still feel nice, or for me still feel pretty, but comfy. 
  7. Snacks. Make sure you don't just have candy or just veggies. Make sure you have a nice mix of snacks. My husbands personal favorite, Slim Jim's and m&m's. 
  
These games and tips will really help will your drive looks like this.

Friday, April 27, 2012

Wrapping Paper Storage Container Made From Lemonade Containers

I go through tons of lemonade containers and I have finally decided how I can use them. So here is how to make a Wrapping Paper Storage Container


So Get you 5 Containers, Mine are Lemonade and Kool-aid containers but you could use Formula Containers or #10 Cans, You will need more #10 cans though, but, on the upside it will fit more wrapping paper.


Using a can opener, Take the bottoms off of 4 of the 5 containers.


They will look like this.


Get some Duct Tape and tape two containers together.


It will look like this. Continue taping them together.  
MAKE SURE THE CONTAINER THAT STILL HAS THE BOTTOM, IS TAPED ON THE BOTTOM


Here is what they look like after they are all taped together.


Stand it up and put a lid on it.


This will hold 4, 70sqft rolls

You can decorate the container however you wish. You can use a fun duct tape, wrapping paper or just leave it, it is up to you!!! Have fun!!!

Tuesday, March 13, 2012

Toliet Paper Solution

Many mothers have experienced the following scenario. Your kid is too quiet, you hear the toilet lid slam and you start running to the bathroom. These thoughts cross your mind; how much toilet paper was used, was the toilet flushed, is the toilet going to over flow, etc.

With my new idea I have been able to show my daughter and son how much toilet paper to use.


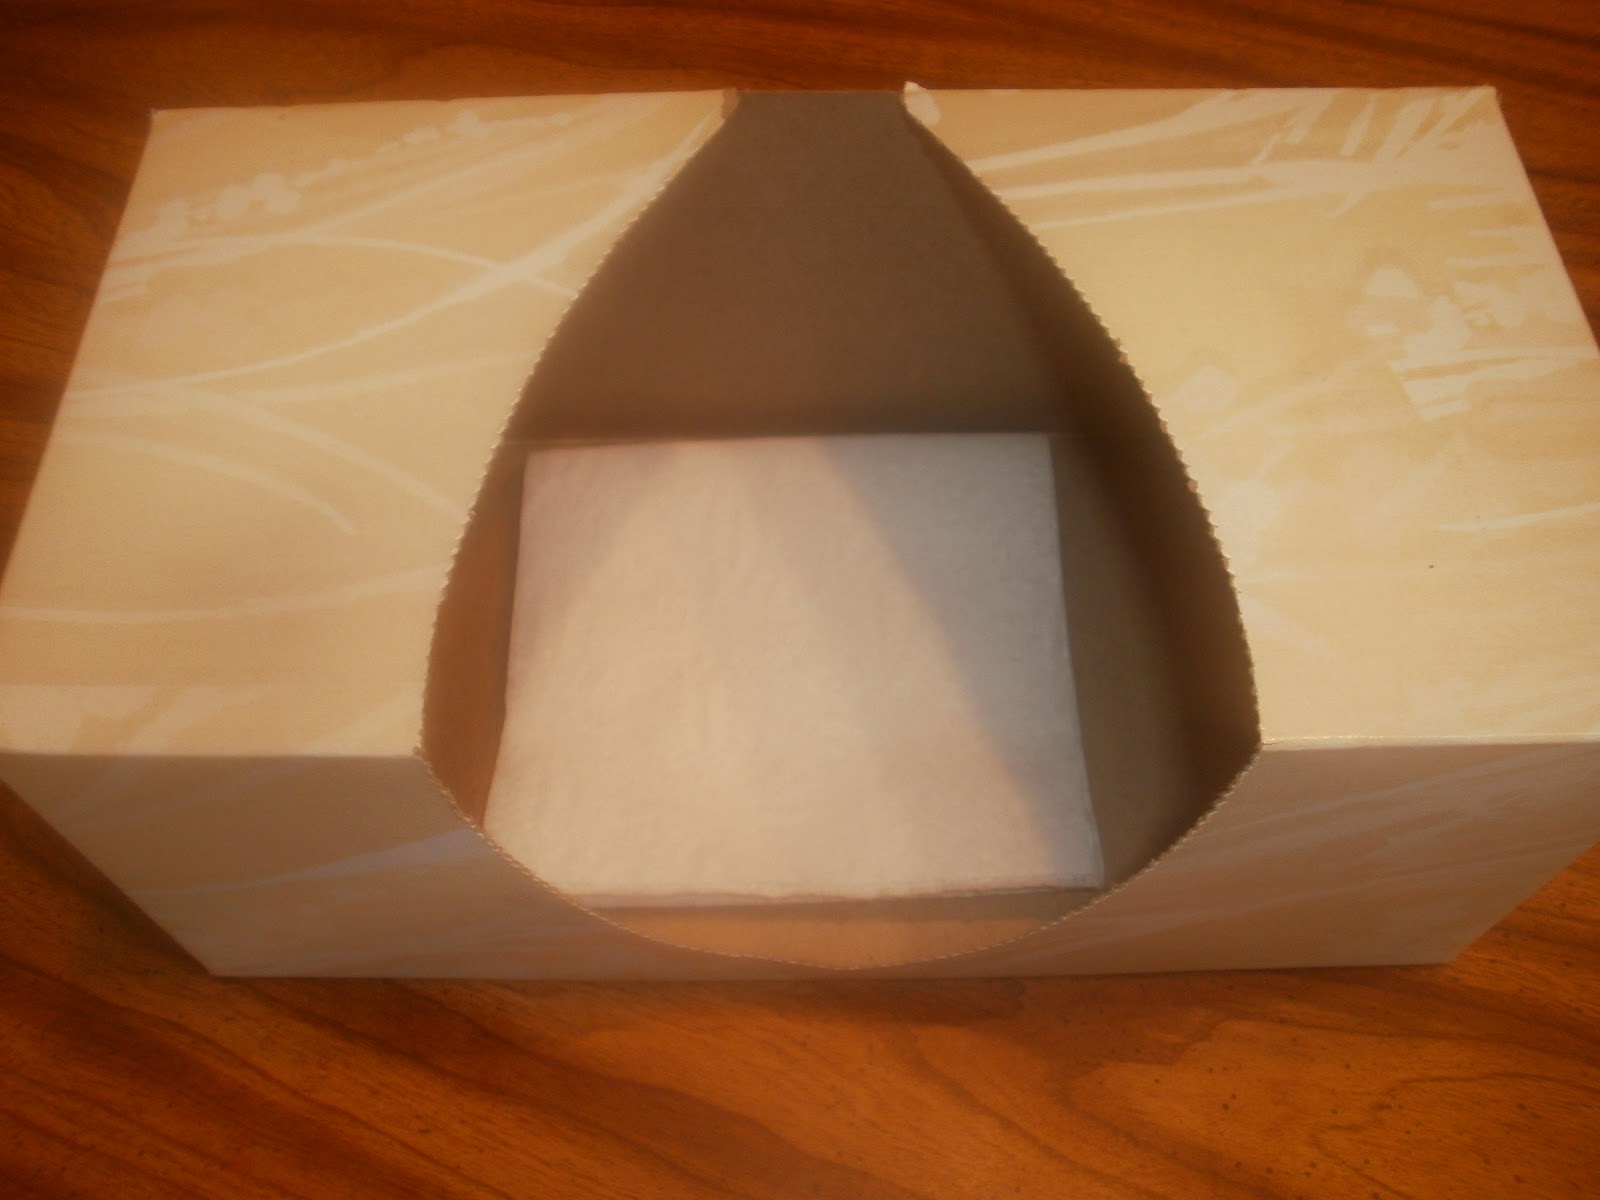
 All you need is and old Kleenex box and toilet paper


Take off some square and fold them. I use four squares, you can use how many 


 Fold your paper up as if it were one square


Place it in your empty Kleenex box

Place it in your bathroom

You could use Kleenex for this instead but using toilet paper is simply cheaper.

Monday, March 12, 2012

My 10 Tips To Make Laundry Easier


Laundry sometimes seems like a never ending chore but I have found a few things that make laundry easier for me and maybe they will help you out.
  
  1. Prepare two specific days a week for laundry (Mine are usually Tuesday and Friday) Try not to run errands on these days.This will ensure that you wont ever have more than 3 or four load.
  2. The day before "laundry day," gather all the dirty clothes throughout your house and take it to your laundry room. 
  3. Sort your clothes the day before.
  4. Make sure your house is clean before washing clothes.
  5. When removing your clothes, turn them right side out at that moment. This will save tons of time when it comes to folding or hanging
  6. Spot treat clothes as stains occur. Use a Stain Magnet(Click the link to see my tutorial) to remind you of when you have stained clothing in the washer.
  7. When washing clothes set a timer or listen for the bell on your dryer, this way you can get your clothes in out and on there way.
  8. Have a specific place to put your laundry, I use my dinner table, this forces me to complete the laundry before dinner time. 
  9. I fold/hang clothes after it is all out of the dryer but some people suggest hanging and folding laundry as the clothes come out of the dryer, but whatever works for you.
  10. Have a clean laundry basket for each member of your family. This way, when sorting your clean clothes, you can just throw each family members clothes into their basket, then fold or hang them up from there.
 NOTE: If you are washing dress shirts, or other easily wrinkled clothes,  you may want to lay those out flat, straight from the dryer

 If you have any things that you do to make laundry easier, comment below, I would love to hear them

Thursday, February 23, 2012

Lego Earrings - My Creation

I was looking through all me earrings and I have at least 10 stud earrings. As I am a mommy toys seem to mix with many things I do.  I found something to do with them.


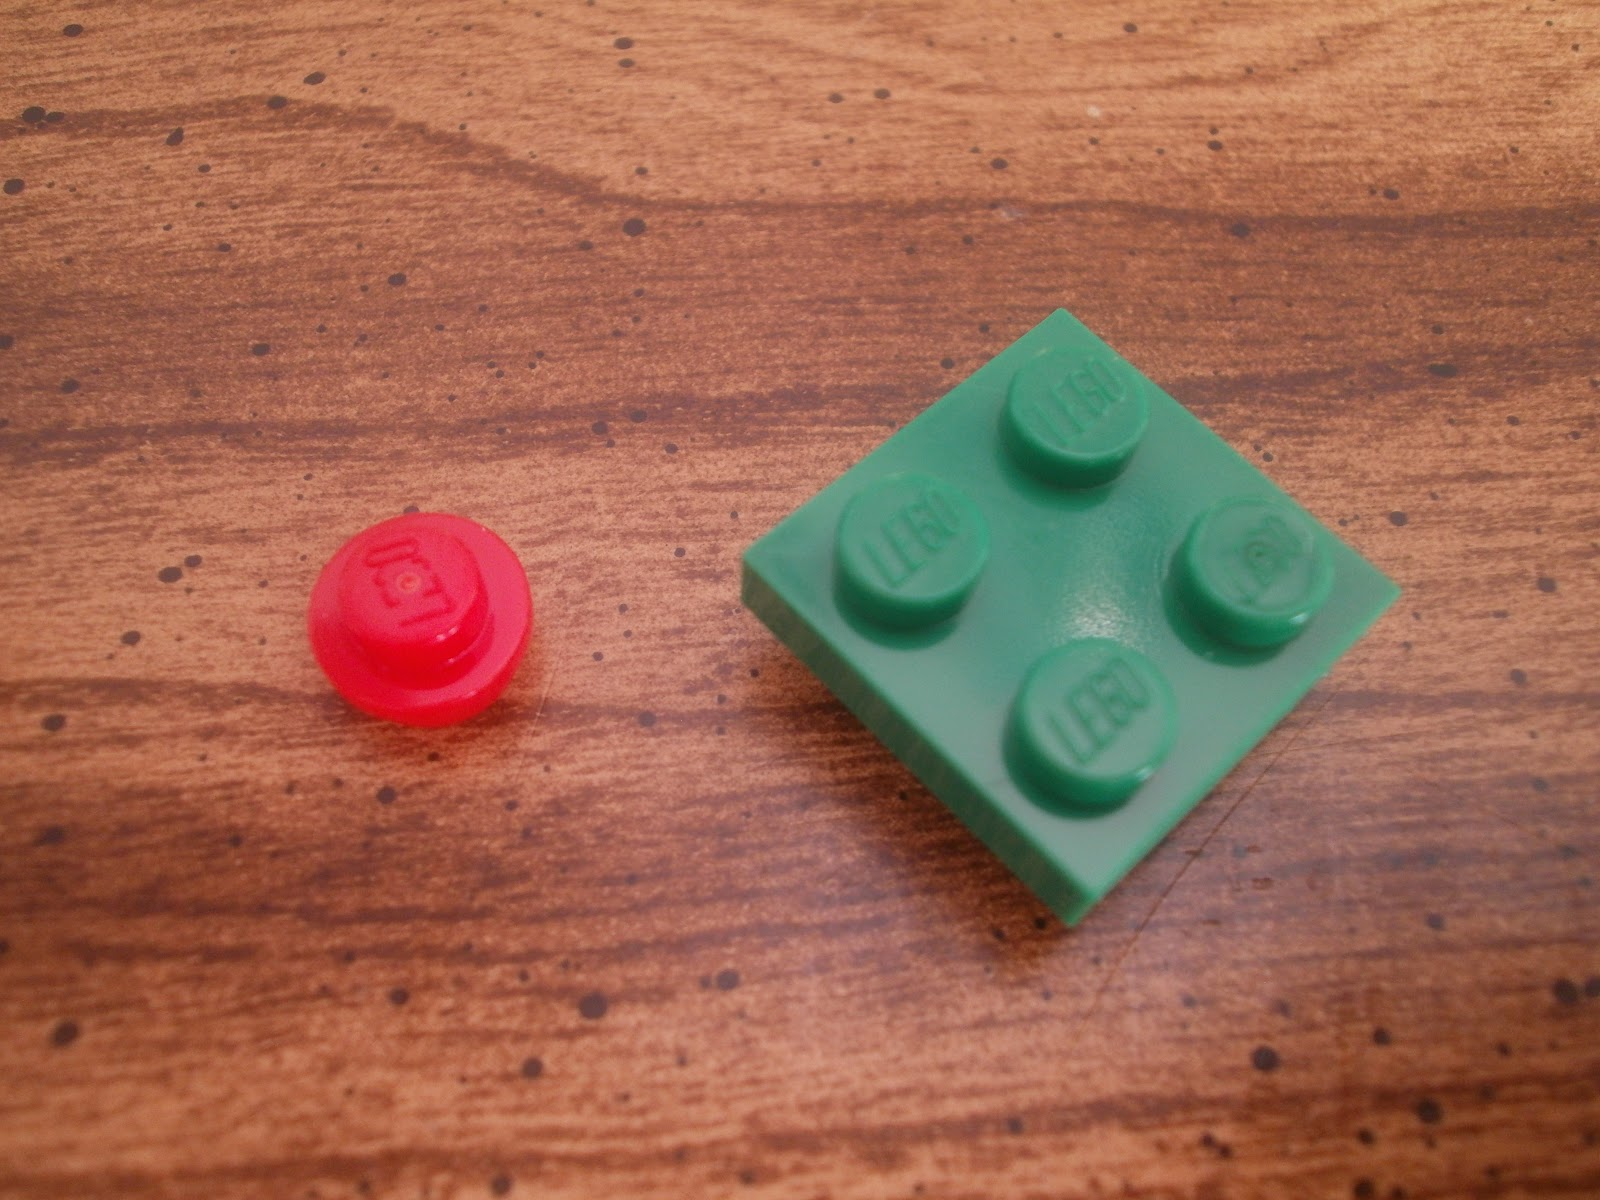
I  found some legos for $1 at Wal Mart


I got my earrings


Get your stud pieces and....


put some hot glue into back of the stud ...


and stick the ball of the earring into the hot glue.


Then Ta-Da!!!

  
You have earrings 


These studs will be able to fit into the back of any lego so you can change them up.


I figure these earring are a little bit more fun for teenagers or kids but I really like how they turned out.

Let me know what you think!!