Tuesday, January 10, 2012

Emergency Vehicle Tubes

Growing up my parents were really good at being prepared. With 4 daring boys and 5 hormonal girls they had to be prepared for anything. One particular thing I remember was always having everyday meds in the car for road trips. If someone was having a upset tummy there was always tums. If someone had a headache there was Tylenol, and so on. So as we are planning out first family-of-five trip to Disneyland, I decided I would make me a Emergency Meds and Band-Aid car Tube


 The first step is to get some of the common medications that you use. In this picture I have Allergy Pills, Tylenol, Tums, Immodium, Day Quill, and Cepacal, and three different types and sizes of band-aids.


Label snack bags and make sure you put the MG amount.
Note: You may want to date you meds with the expiration date


Place the pills in the bags


I used these mini M&M containers that my kids got in their stockings for Christmas.


Trim down the pills that  wont fit. Be sure that you do not cut to close and break the air pocket,


Roll your snack bag down from top to bottom, and push all the pills to on side.


Then roll up the bag from one side to the other.


Place all of your items in the tube, or whatever container you choose to use. My mom used a check box.


Label your container.
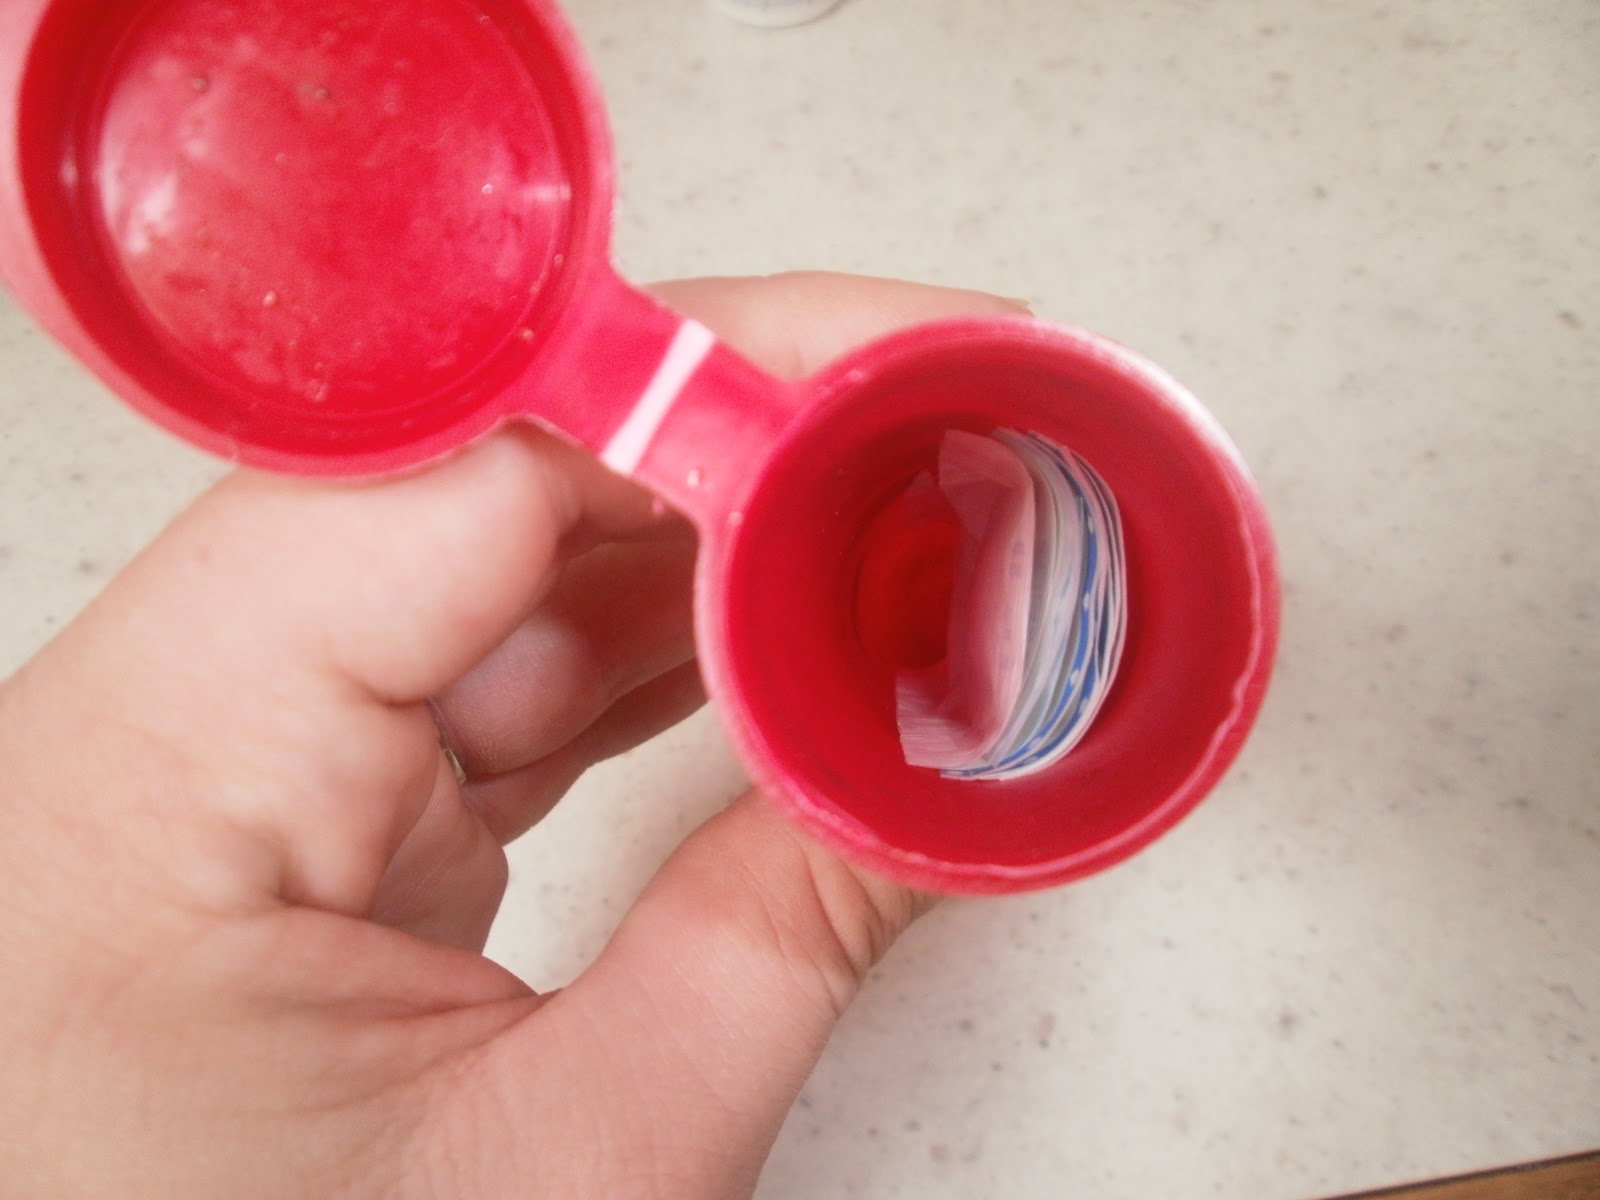

I made a separate tube for the band-aids. you could also place feminine hygiene products in here.


Label this one as well.


And then you are all finished and just got to put them in your vehicle. I plan on putting them in the compartment under the passenger side chair. I am sure a glove compartment would work too.


Friday, January 6, 2012

Magnetic Board for Magnetic Paper Dolls


My daughter got this very cute magnet doll set for Christmas. I noticed very quickly that the piece were getting everywhere. I decided that I would make a magnetic board all the dolls and clothes, But then I realized the doll themselves were only magnetic on the front and not the back, so I needed to fix that.


Her is the doll set. Lots of pieces right!?!


Solution is a cookie sheet. My husband told me to throw this out but I knew I could use it for something. 
Of course it took me about a year to use it. 


I had bought these frames on sale for Halloween.


I figured could use the center magnet to make my dolls magnetic. You can also use any of those free magnets that you may get in the mail.


I cut mine into a general shape that I knew would fit. You are welcome to try and make it perfectly fit, but that was more work then I wanted to deal with.


So get your hot glue gun and glue them on.


There are actually 4 dolls in the kit but one is still MIA.


Make sure your pan is magnetic anough to hold your dolls.Then your done...MAYBE....


If you want to make it pretty here are the other things you will need. (or you could you spray paint, It would be tons easier, but I didn't have any.)

It took about 3 coats of paint till I was satisfied with the color.
Spray the Lacquer on it. Let it dry....


...And your done. Feel free to store all of the clothing items on the other side.

Hope this helped you. I know it helped me.

Thursday, January 5, 2012

52 Reasons Cards

I found this really cute idea on Pinterest and me and my husband decided we would make these little books for each other for Christmas.
What you need: a deck of Cards, Ribbon, Paper (or pen), Hole punch

 First you need to write 52 reasons why you love you spouse, sister, brother, grandparent, etc.


Then put one reason one each of the cards. I used a joker for the front and back cover


 Then Just punch holes in each of the cards, thread the ribbon through and tie it off. You may need to melt the edges of the ribbon, mine was beginning to fray.


Ta-Da!! its all finished. Here is it from the front...


Here is a view of the inside.


Try to find a deck of card that would match some of the reasons.(example above)

For example....(above)


I hope you enjoy these. I know I really loved to see the strange things that my husband loves about me.


NOTE: If you are printing them out and placing them on cards make sure you change up when you are putting the reasons cause one end may be bigger than the other (picture 1) and maybe hard to place back into the box. My husband did his right (picture 2)
NOTE: You can just get a pen and write on the cards if you would like. I just don't have the best handwriting. 


Washer Machine Magnet

If you are like me you try to save as much time as possible. So when you are washing laundry and you have a stained shirt, (or whatever else your kids decided to stain) you throw it in the washer and cross your fingers you remember to check the stained shirt before you put it in the dryer. I very often forget so I have created this magnet. It is super easy and very helpful.

 This is all you need: Scissors, Magnet photo sleeve, and a paper. (feel free to write on it what you want but this is what I wrote.)

Cut your paper down to size and slide it into the magnetic photo sleeve


Ta-Da!!! Your all done.


Place it in your washer and when you open the lid you will remember to check on that stained shirt. When it is not in use you may place it on top of the lid.

Thursday, December 29, 2011

Make a strap for a vest that is too big

When we bought my son a Christmas outfit, The shirt fit great but pants waist was too big and the the vest was too big. So I fixed it. 


 I took in his pant. See my tutorial on taking in pants here


 Then his vest was too big so I decided I would make a clip for the back.


You will need a clip. You can buy badge clips, like mine, or you can use another clip. Maybe one you already have around.


You will also need ribbon. My length is 7 inches 
Note: After completing my clips I would have liked it to be about 1 -2 inches shorter.


 Open your clip and place the ribbon inside.


Then, with a hot glue gun,  put some glue on the top and pull the ribbon and press it onto the glue. Do the other side the same way.

 
  You may need to glue the ribbon inside the mouth of the clip if it did not already glue itself while gluing the ribbon on top.


My clips are being reused so they have glue on them
 

Then your finished, just clip the clips on the vest and ta-da.

 All finished and you didn't even have to sew. Gotta love hot glue guns..

Wednesday, December 28, 2011

Turn an Adult shirt into a toddler shirt

My son saw a shirt hanging in his daddy's closet and wanted it. Of course it did not fit my husband so I was given permission to make it fit my son. So here is how I did it.


I put a shirt that fit my son on top of  the big shirt to determine the width of the shirt.


I cut the sides off. I made it 1/4 inch bigger for the seam allowance.


I place the sleeve over the top and measured how long the sleeves needed to be.


I placed the shirt over the picture of the shirt then cut the shape out


Fold the shirt in  half so the sleeve holes would be the same size.


Remove the binding with a seam ripper, you will be using this piece later.


Cut the sleeves to the desired width, again leaving 1/4 inch seam allowance.


Here are all your pieces.


Now it is time to sew. Place the "right" sides toward each other.


Remember, Sew the pieces together on a 1/4 inch seam allowance. Zig zag stitch all seams if you don't have a Surger.


Sew the sleeves together as shown.with "Right" sides together.


Sew the body of the shirt together, as shown. Again with right sides together.


Now it is time to attach the sleeves, Keep the body of the shirt inside out and turn your sleeve right side out


Slip the sleeve inside the shirt and have the one seam in the sleeve line up with the side seam in the shirt.


Once both sleeves are attached it will look like this, You are almost done.


Now it is time so the binding around the neck. Place the binding on, starting in the middle of the back.


Pin it on in a couple of spots and over lap about 1 and a half inches, then cut off the remaining binding.


Unfold the binding, from the middle back...


and press the "right" sides together.


Sew it  together I sewed on about a 1/2 seam. If you sew too much you can always take it out and try again, or if you are working with knit fabric it will strech a bit so if you are off a little just stretch the fabric.


open the seam and fold the binding back over the shirt. ( it should look like this, below)


Ta-Da!!! you have put on binding. If you have a double needle it would look more professional.


Here it is.


now to check the length.


I cut off just above Iron Mans boot.


I then surged the bottom, then folded over 1/2 inch.


Here is what it looks like finished, again a double needle would look more professional.


The shirt is still a little big but i wanted him to be able to have a little bit of grow room.


Well there it is. I hope this was helpful. Feel free to ask any questions.