Thursday, December 8, 2011

Homemade Microderm Facial

I have been wanting to find a great easy facial that I can do myself and also notice results.

So I searched for one on Pinterest and found a microderm facial.

It is 3 parts baking soda and 1 part water. 

Mix them together and you will get a paste like this.

Rub it on your face in a circular motion then when it drys wash it off with warm water.

I don't know about you, but my face was clear from dead skin and very smooth.

Try it and let me know what you think!!!

Tuesday, December 6, 2011

Choose a tutorial!!!

Hello all. I have made a couple different projects such as ..


Head band from t-shirt

Recover your car seat- FYI  this will void warranty

Recover canopy

Motor skill ball


Little boy shorts with cargo pockets

Maternity skirt from Jeans

Nursing Clip
If you are interested in seeing me post a tutorial of any of these...or hey all of them comment below.

Wednesday, November 30, 2011

Make a simple Blanket


I will show you how to make a very simple blanket. for your baby.


Get you about three yards of fabric. You can use two different colors just purchase 1.5 yards of each color. You may want a flannel or a fleece, a cotton fabric may not be warm enough for winter. I am using flannel for this one.

Cut of any uneven fabric. I used a rotary cutter, as it makes on nice straight line. I use the yard stick as my guide.

Put you  two fabrics together, if your fabric has a print put the print sides together

Then sew on the 5/8 line all of the way around the outside of the blanket until you reach the end...

Leave a big enough opening that will allow you to flip your blanket right side out. Clip your corners, then flip.

Tuck the edges toward the inside.


Then sew around the outside edge on a 5/8 sem

Then Ta-Da, You have a very nice blank that cost you almost nothing and no time to make,

Helpful hints:
If you want to make a blank without sewing a single thing, buy 1.5 yards of fleece and boom your done.

Christmas tree for Toddlers

If you are a mommy of children under 3 you probably have a problem keeping pretty ornaments from breaking or keeping you tree together. You dont want to be getting mad at your children the whole month you have your tree up. So here is a solution. 
This last year we bought unbreakable ornaments from the dollar store. This way the children can decorate the tree all by themselves, without any worry of broken glass. We used them and will continue to use them until our children decide that you don't have to decorate the tree every day.

We also had the kids color on red and green construction paper. Then I cut the paper into strips and made paper chain garland for the tree. If they break it or take it off the tree its not a big deal.


I also found a site that has cute paper snowman, reindeer, tree and angel garland
I havent tried it yet but it seems fun and easy.


You can tell how tall my children are.
The tree will not be the prettiest but that kids will be so happy. And you can redecorate it when they go to bed.

If you have any other fun tree decorating ideas comment below.

Tuesday, November 22, 2011

No More smashed fingers


Do you have children that just love to slam the doors. I have found a solution. I will only cost you 1 dollar. Buy a fun-noodle. 


Cut the noodle any size, mine is about 10 inches, It probably doesn’t need to be that long.


Then slice the noodle up one side. ( as shown in the picture)


Then spread it open and place it on your door.You can put on top of your door or on the side like mine, eith way will do the trick.

 
Just that easy. It will save you from having smashed fingers

Friday, November 18, 2011

Take Pants in, in 5 minutes


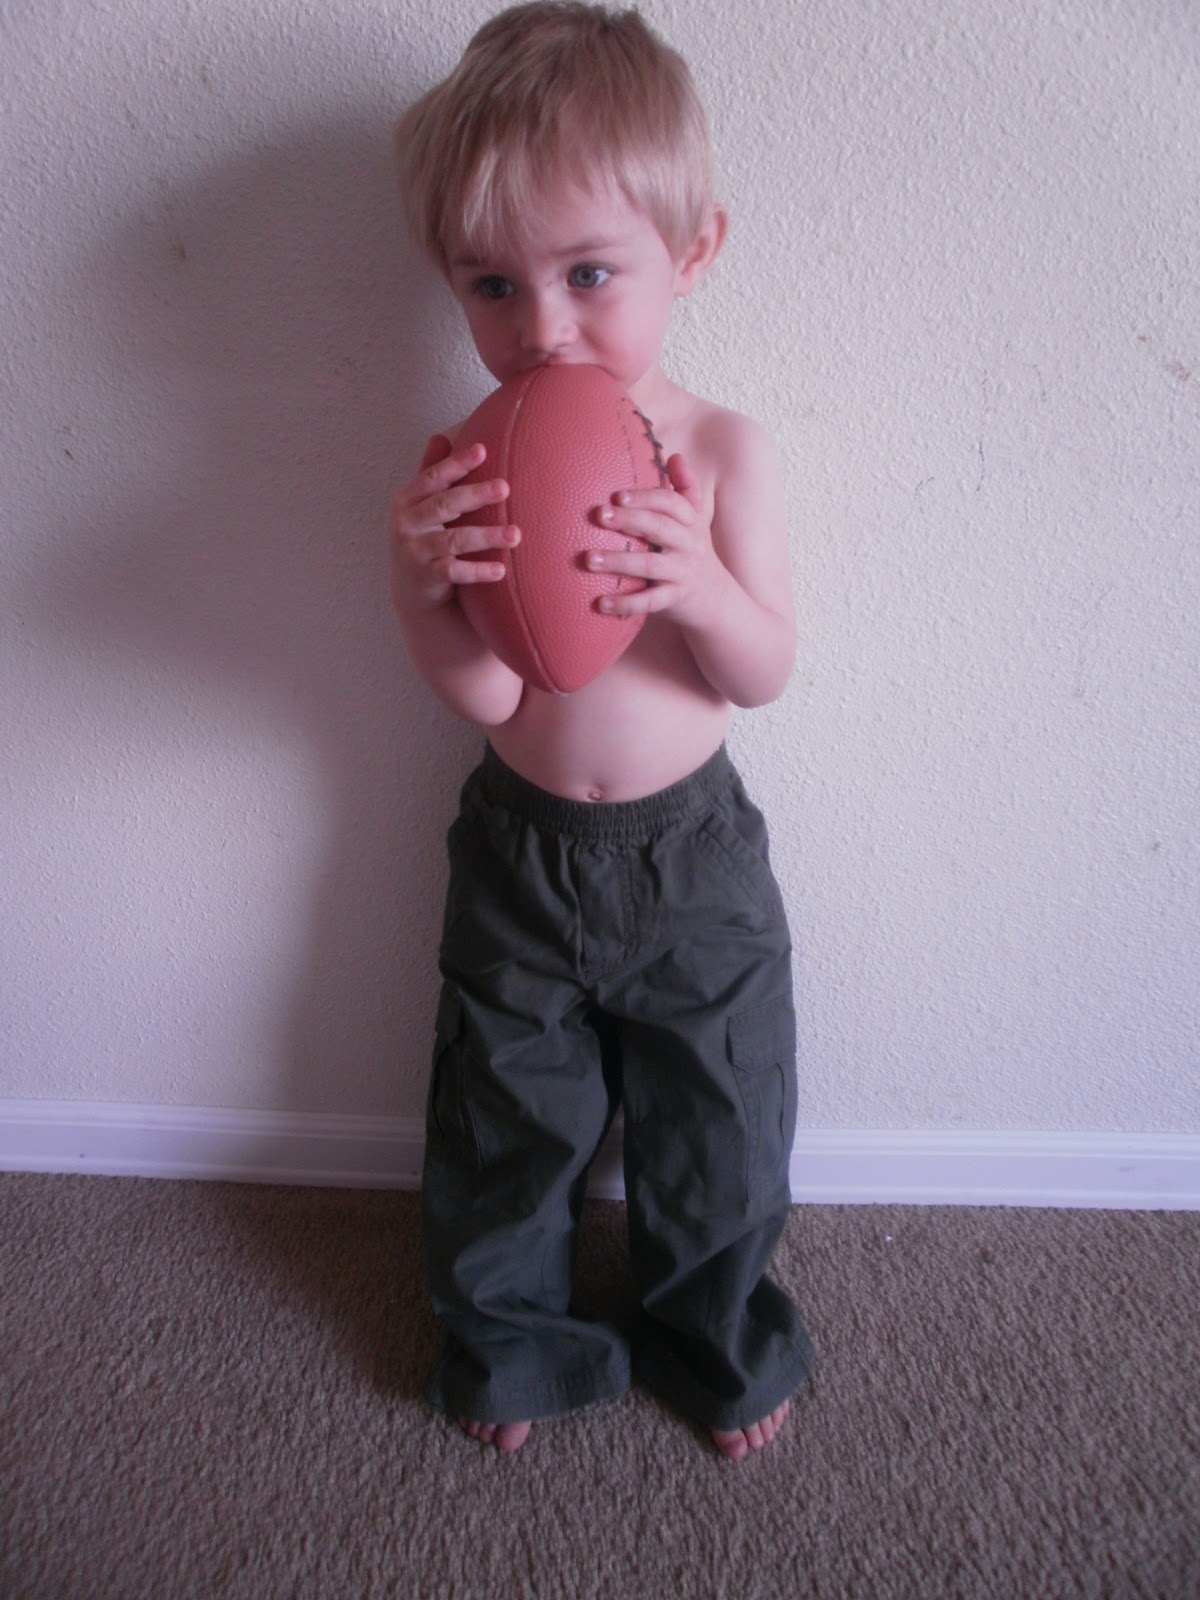
Do you have a little kiddo that doesn’t fit into their pants? My little man gets his metabolism from my side of the family. I cant keep any weight on this guy he eats and eats but also runs and runs. My little guy doesn't like when his pants don't fit. He will just keep pulling and tugging to keep them up. Lets hope that lasts into his teen years. My son is 26 months and his waist  fits 12mths pants but 18mths are the perfect length for him.
(these pants are 24 months, I will be hemming them as well, watch for the tutorial)
I have been taking this little guys pants in since he was 6mths old. So I decided to show you my little technique for taking in pants in less than five minutes. 


First step: Put the pants on your son and pull the extra slack out, as show in the above picture.


Second: Pinch the pants in the back and decide how much you need to take in. I needed to take in about 3 inches. I will be putting in two seems into the pants so each side will need to be taken in 1.5 inches


Third: Take the pants and flip them inside out. 


Fourth: Next you will line up the side seem and the back seem 


Fifth: Press them together. His pants need to be taken in 3 inches I will divide that number my 4 which equals about 3/4 inch.


Sixth: Measure and Place a pin where need, using the formula above. I placed my pin in ¾ of an inch.


Seven: Sew right where you placed the needle. Sew from the top of the pants down to the end of the waist band.  


Now repeat step 4-7


The end result will look like this 


Flip the pants right side out and they will look like this.


Try the pants on your little kid and see how they look


This is just that way I have been taking pants in for my kids. I hope it helps.

Wednesday, November 16, 2011

Sticky Solution

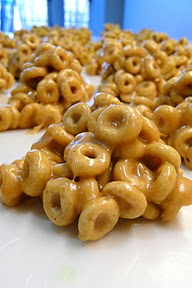
Hello all, Have you ever had a recipe tell you to use wax paper. I made these cheerio snacks.


For this recipie visit this link http://kathiecooks.blogspot.com/2010/01/cheerio-treats.html

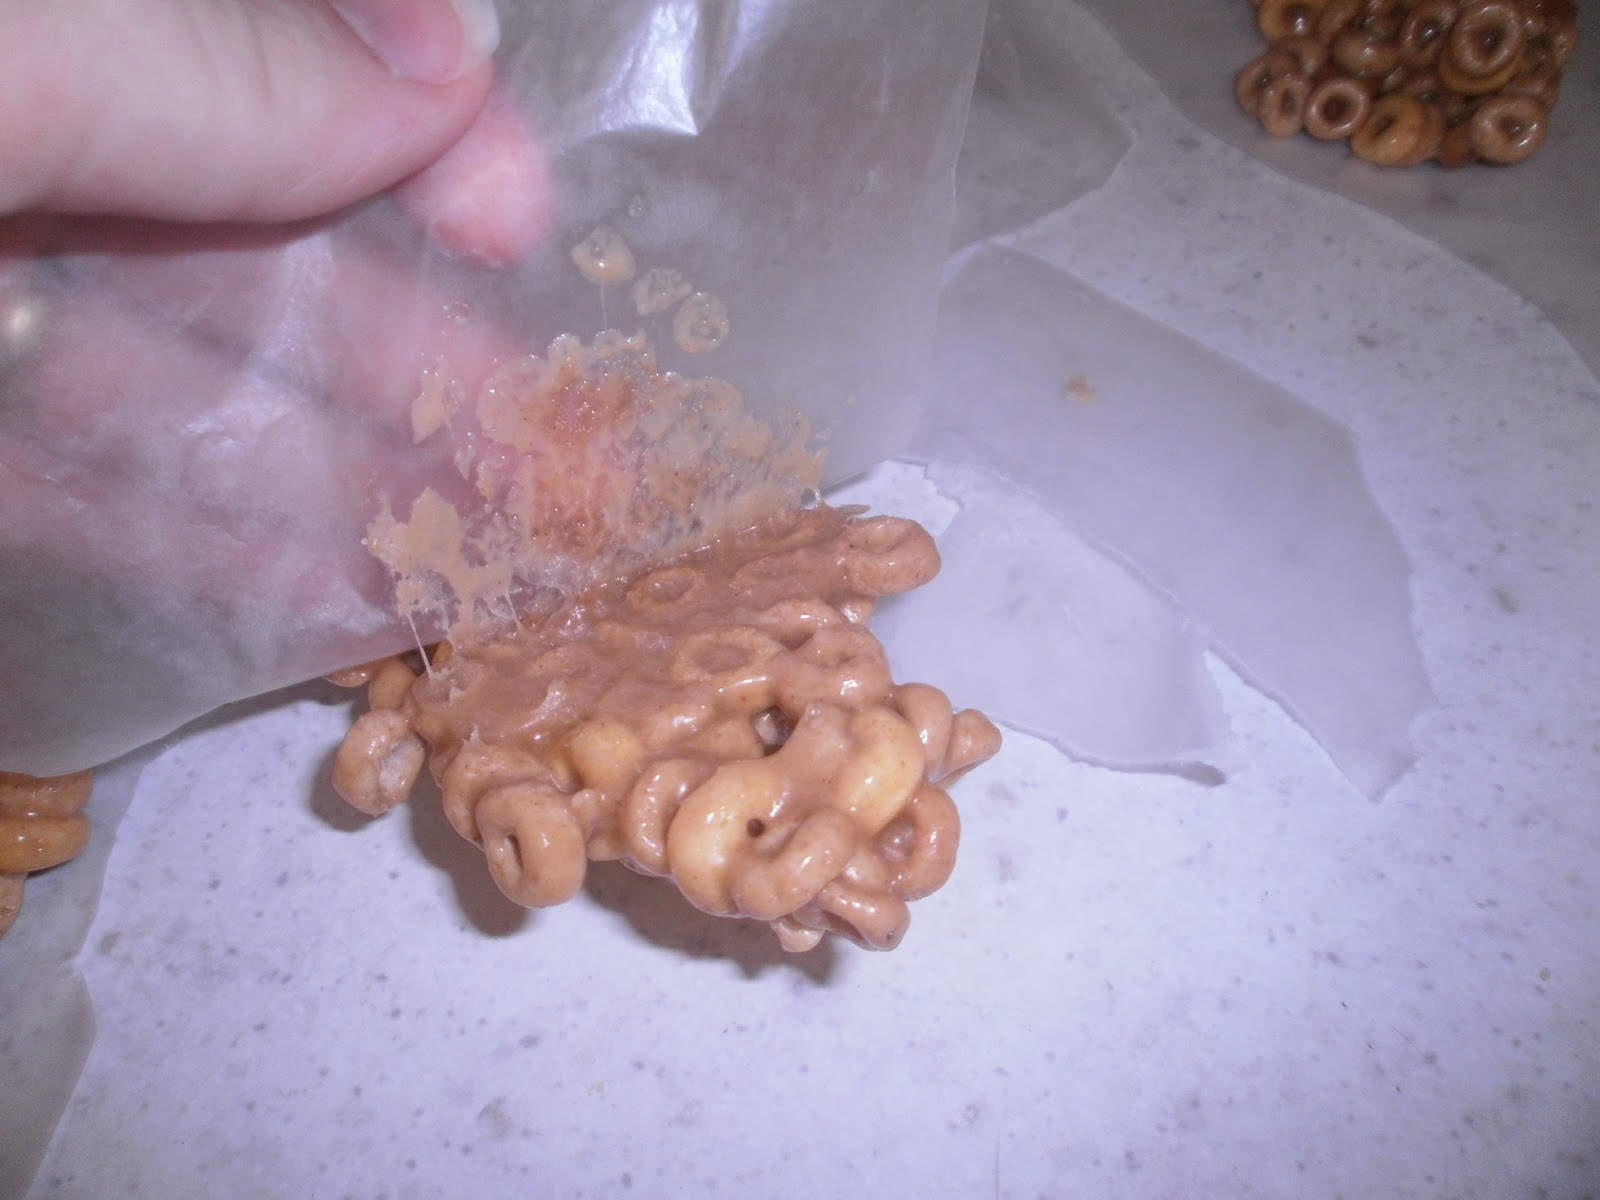
They were really really good but I had an issue with my snacks sticking to the wax paper.
So I thought up an awesome easy solution.

Get a frying pan and turn it on a medium heat. 


Take your snacks and separate them from each other.I cut around the snack using scissors leaving enough wax paper around the snack so I could pull it off easier.


Then place the snack (wax paper and all) on the frying pan. (you can see my pan was a bit hot)


Rub the wax paper around the pan for about five second.


And if all goes well... the wax paper should peel right off!!
I hope this is as helpful for you are it was for me!!!

Wednesday, August 24, 2011

Nursing Bracelet

Click the picture and It will take you to my Etsy shop.
If you are pregnant or just having a baby, this bracelet is just what you need. This helps you remember when you last nursed your baby, or when counting fetal kicks, contractions.
The Nursing Bracelet also:
• Remind working mothers when to pump
• Count the number of glasses of water drunk in a day
• Remind you when to take or give medication
• Keep track of the number of laps walked
• Remind you of an appointment time
• Count down the weeks until the baby’s arrival
• Count the number of wet or dirty diapers in a day


This beautiful bracelet is made up from an elastic cord, beads and a beautiful charm of your choice. This bracelet fits comfortably around a wrist that measures 6.5 inches. The knot hides behind two solid colored beads (picture #3). This way the knot won’t be seen or felt.


Beautiful beads represent a 12-hour clock. A charm is attached to this, which the mother moves to mark the time her baby last began a feed. The bracelet’s elastic string allows the mother to track which side she last nursed from by switching the bracelet from wrist to wrist without fiddling with clasps or fastenings. Reminders of the last feed time are especially useful if the mother is tired, overworked, or suffering the baby blues.

How to use:
1. Switch the bracelet from wrist to wrist to keep track of which breast you fed from last.
2. Move the charm to mark the time your baby's last feed began (see picture #5). This is helpful if you have a sleepy baby who doesn't wake for feeds, if you would like to establish a breastfeeding schedule, or if you're feeding-on-demand and would like to keep track of your baby's breastfeeding patterns.
3. An alternative use for the bracelet is to count the total number of feeds in a day (newborns should feed eight to twelve times per day). Place the charm after the relevant number bead.

Wednesday, August 10, 2011

Shoes

Here are two more more sets of shoes that I will be making. Both sizes of shoe are 0-3mths 
These shoes are Forest green and made from fleece. These shoes can have a flower added to the center or two buttons on the side holding the flaps down. These shoes will be perfect for those babies born during the winter time.


These shoes are made from a ivory fabric. I am unsure of what the fabric is, as it was a remnant, but it is a soft, thick, cotton like fabric. This shoes has elastic around the ankle portion to guarantee the shoes stays on. The bow is made from a red and white polka dot ribbon.


Here are some denim Shoes


Thanks for looking!!

Friday, August 5, 2011

Things To Watch For!!!

Okay folks, So here is a little sneak peak of what is to come on my Blog. I have gone through all of my patterns and have decided I would make a list of all the items that I plan on adding onto this website. These items will be able to go home with you if you choose. 
  1. Knit Baby hats
  2. Wipes Cases
  3. Bibs
  4. Burp Clothes
  5. Hand Mittens
  6. Receiving Blankets
  7. Nursing Cover
  8. Nursing Bracelets - Do you forget when the last time you fed your baby? This bracelet will help you keep track, will helping to keep you fashionable.
  9. Nursing Necklace-Have you ever been nursing your child and it decides to grab your expensive necklace? This necklace is rough and tough for your baby to hold onto during feeding time.
  10. Walking Belts-Are you having a hard time getting your little kid to have the courage her needs to walk alone? This little belt will help them out.
  11. Carseat Blankets-If you have ever had a blanket blown off of your baby by the wind, you will love this blanket.
  12. Changing Pad - If all goes well there will be a pouch to hold diapers and wipes in here as well.
  13. Shoes - Wide variety to come
  14. Hair bows and Accessories
  15. Little Man Ties
  16. Blessing Dresses - size 0-3 months only
  17. Baby/Toddler Costume
  18. Baby Ponchos-These super cute ponchos are made out of fleece and will keep the child warm on those days when they don't want to put their jacket on. 
So if there is anything you would like to see sooner than later comment below and I will  post pictures as soon as possible.

Headwear

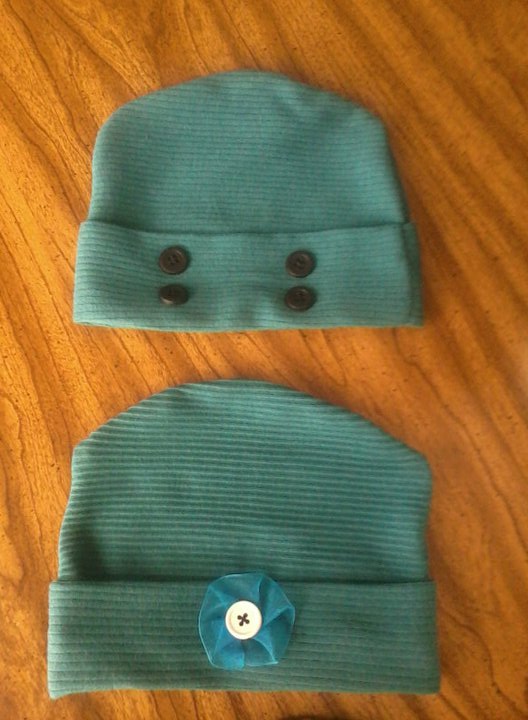
All babies need something cute to put on that itty bity head. They are made from a stretchy knit fabric and are thin enough that a baby can wear it during the summer and not get hot. These beanies can also be worn during the winter just to keep their little head warm. These are some of the hats that I have made in the past and really enjoyed the way they came out.